

Yesterday we celebrated my daughter, Norah Gray's 1st birthday. The day could not have been more perfect! I kept checking weather.com and they were calling for isolated thunderstorms. Magically when I woke up on party day the forecast changed! I couldn't have been happier.
So thanks to Pinterest I had grand plans on what to do for her party. Curse you Pinterest! No I am kidding I love it! Needless to say, there was ALOT of preparation. I would like to share the things I actually had time to do with 2 little ones always needing my attention.
The first thing I would like to share is the picture you see above. I found this idea at cheryljunegirl.blogspot.com. I bought the letters for $3.99 each at Michael's. Honestly, I took them back when I was all done! Seriously, what was I going to do with those letters??? I feel horrible, but hey it is what it is!
The photo shoot did not quite go as planned. She took a late nap. We were going to lose daylight, so I woke her up! Mistake one! Mistake two was going to the pond by myself. I know that she will always smile for daddy no matter how tired she is. So I ended up texting him and he came right away. He is the best! So he at least got her to hold the letters. When I was doing it she kept pushing them over. She is a pistol! All in all I am VERY please with how the collage turned out.

 |
I am just so in love with this picture of Daddy and Norah.
My son decided to get in on the action too! He chose to put his head in the center of the"O" all by himself. We were rolling on the ground with laughter!
The next thing that I was so thrilled with was her birthday ensemble!


I then had a friend from work embroider the #1 and the saying, "Whoo's lookin' at my butt?"

My sister-in-law and I made the tutu. We found the tutorial at www.free-homemade-gift-ideas.com. They suggest wrapping the elastic around a chair so you can easily tie on the tulle. That did not work for us because of the size of Norah's tutu. So my sister-in-law held the sewn elastic circle while I tied on the tulle. We probably made the tutu more difficult because we bought yardage of tulle instead of spools. So I had to cut each strip. And someone had the bright idea to do pink, purple, turquoise, orange, and green strips. Yeah, that was me! Smart right!
I don't care though because she looked so stinkin' cute. My husband says if I say stinkin' you know that it is extra great. Love him!
The last thing I was SO excited about was the cake. My son has a peanut allergy, so we are not able to buy store bought or bakery cakes. You can read about his peanut allergy at my other blog http://www.nutfreefam.blogspot.com. We visited Disney World in October and we were able to have an incident free trip. Check it out!
So I found the CUTEST polka-dot cake on Pinterest. The blog is www.easybaked.net. She has a great tutorial on how to achieve this adorable cake! I can give you what I did, but I highly suggest you check her blog out!
I used Betty Crocker Butter Recipe cake mix. 6 to be exact. My first batch I forgot to add the eggs, and I had already added the coloring gel, so I had to throw it away. I was NOT happy. I sounded like a truck driver. Finally my husband told me I needed to cut it out. :) After I calmed down I started over. I mixed up the cake mix the correct way, and then I separated half of the batter into 3 smaller bowls so I could make the polka dot cake balls.


 I used Wilton coloring gels to dye the batter for the cake pop balls. This gel was AWESOME! I added it to the batter a toothpick full at a time and the color was amazing. So much better than food coloring! I also used the Babycakes Cake Pop Maker. I bought it from a friend for $10, but I know Target has them for about $20.
I got better with the cake balls as time went on. Here are some things I learned. DON'T TURN ON THE CAKE POP MAKER until you READY to pour the batter in! It gets way to hot and they cook too fast. My first try it had been on for awhile and they did not turn out good at all. They oozed all over the place.
1) Wait to plug it in.
2) Spray with Pam or other non-stick cooking spray.
3) Spoon directly from the little bowls.
4) Fill the holes just a little below the top.
5) Start filling from the middle.
6) Only cook them for 2 minutes opposed to the 4-5 minutes suggested.
7) Unplug the machine immediately.
8) Loosen the cake balls with a butter knife before pulling them out.

 You put a small amount of the batter on the bottom of the pan. Then you put the cake balls on top. I would probably make more and put them closer together next time. Then you put the remaining amount of batter over the cake balls. My cake balls were not covered completely. I would suggest having an extra cake mix on hand.

After I let it cool it was time to decorate! I used a friend's buttercream recipe. It was delicious. I used the Wilton coloring gels to make the frosting pink. It surprisingly didn't take much at all to achieve the color I was looking for.


We needed a family cake too. So I made two 13 x 9 cakes and stacked them on top of each other. They have the cake balls inside too!

 |
| I was so proud. Thought I was all done. I took a step back and it says Birtday! Are you kidding me! Oh, Welcome back truck driver! |
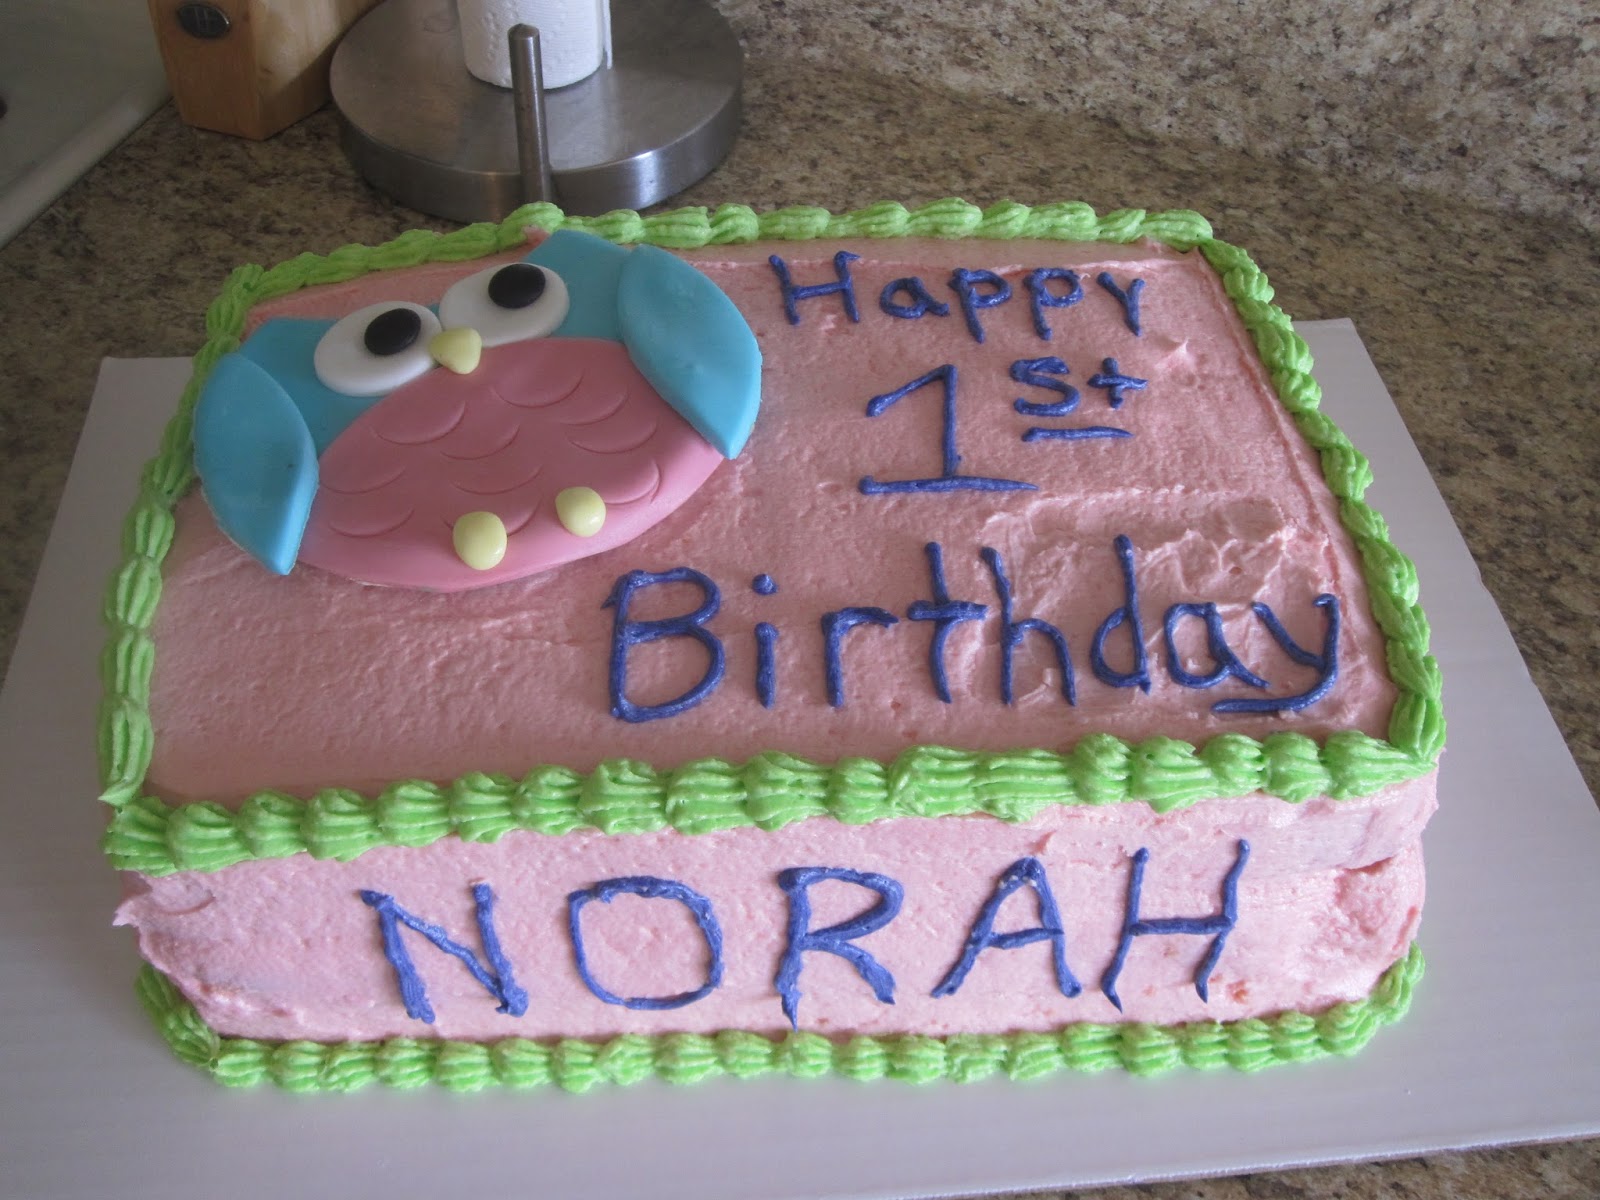 |
| Here is the finished product. I did not make the fondant owl. A friend gave it to me from her daughter's birthday cake. Reduce, Reuse, and Recycle ;) |

 She kept taking bites and saying, "Yum"


 |
| I kept taking pictures and saying, "oh, that's a cute piece!" The cake was a huge hit inside and out! |

I almost forgot the decorations! I made the banner using the Cricut and the poms are store bought.


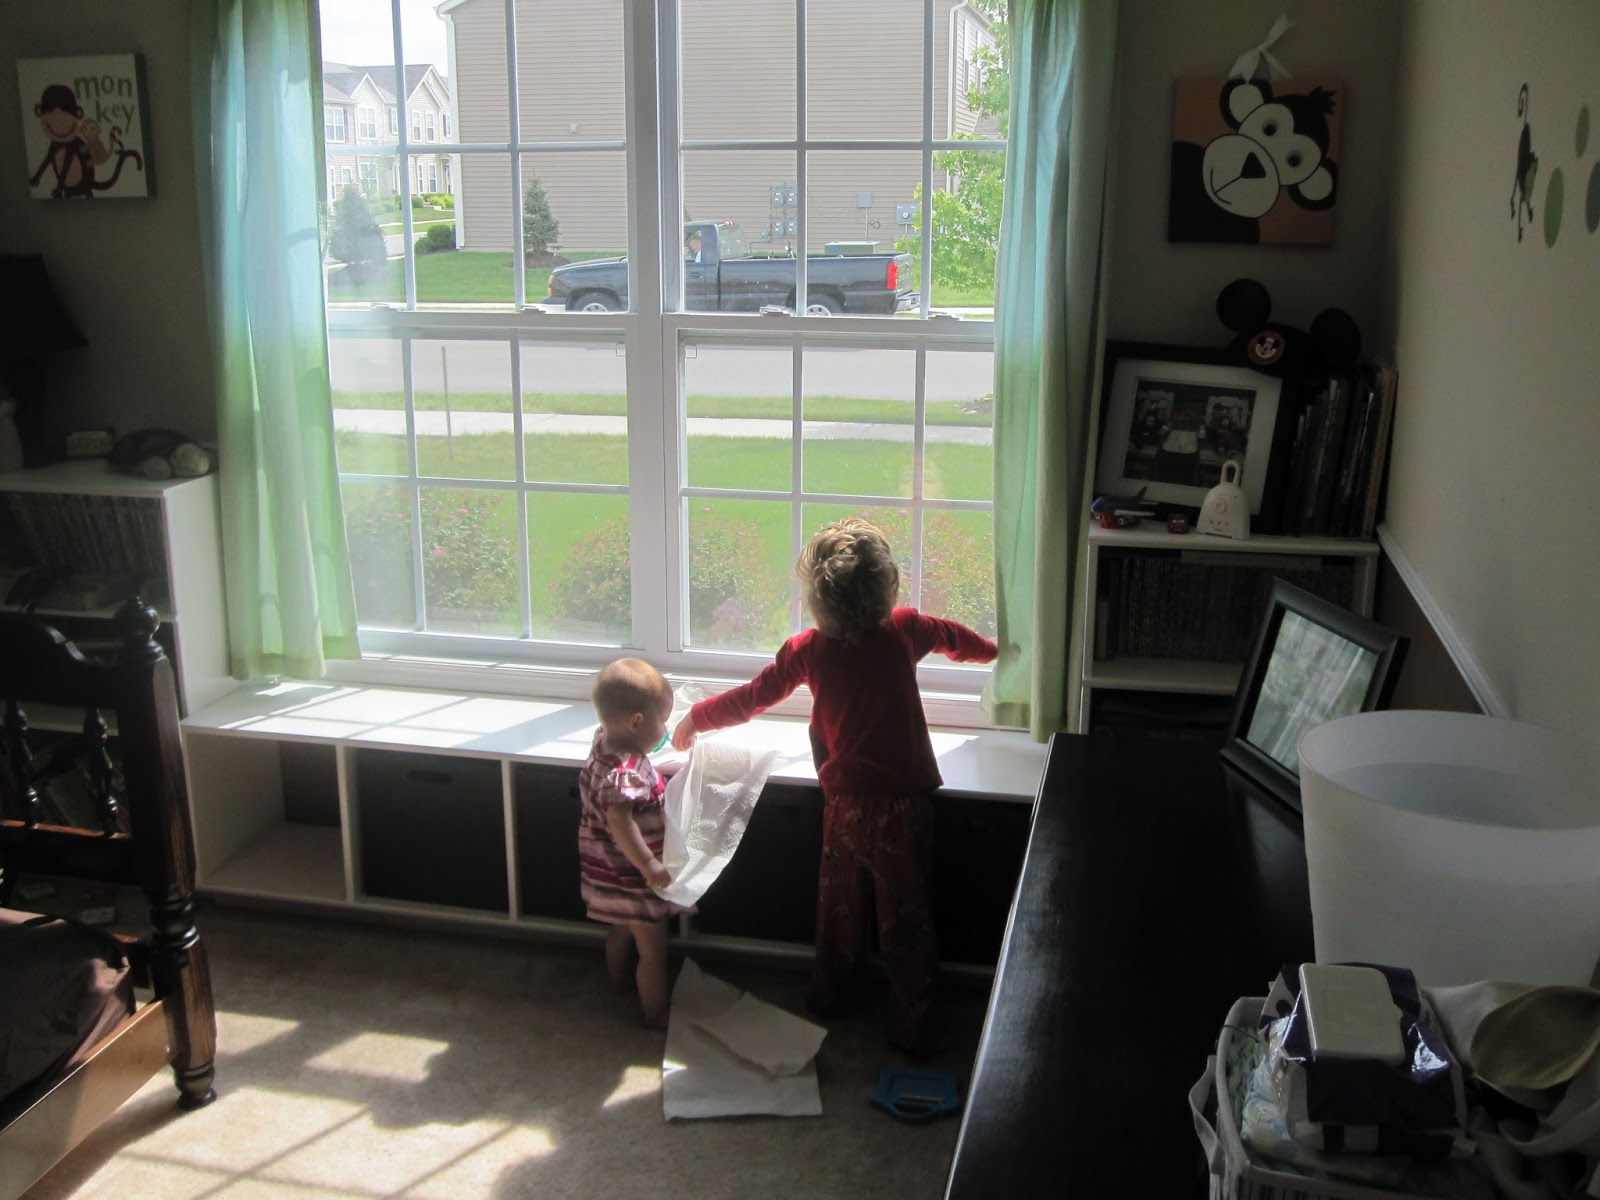
Here are a couple of pictures of my little cuties cleaning for the party! They love each other and helping mommy and daddy!

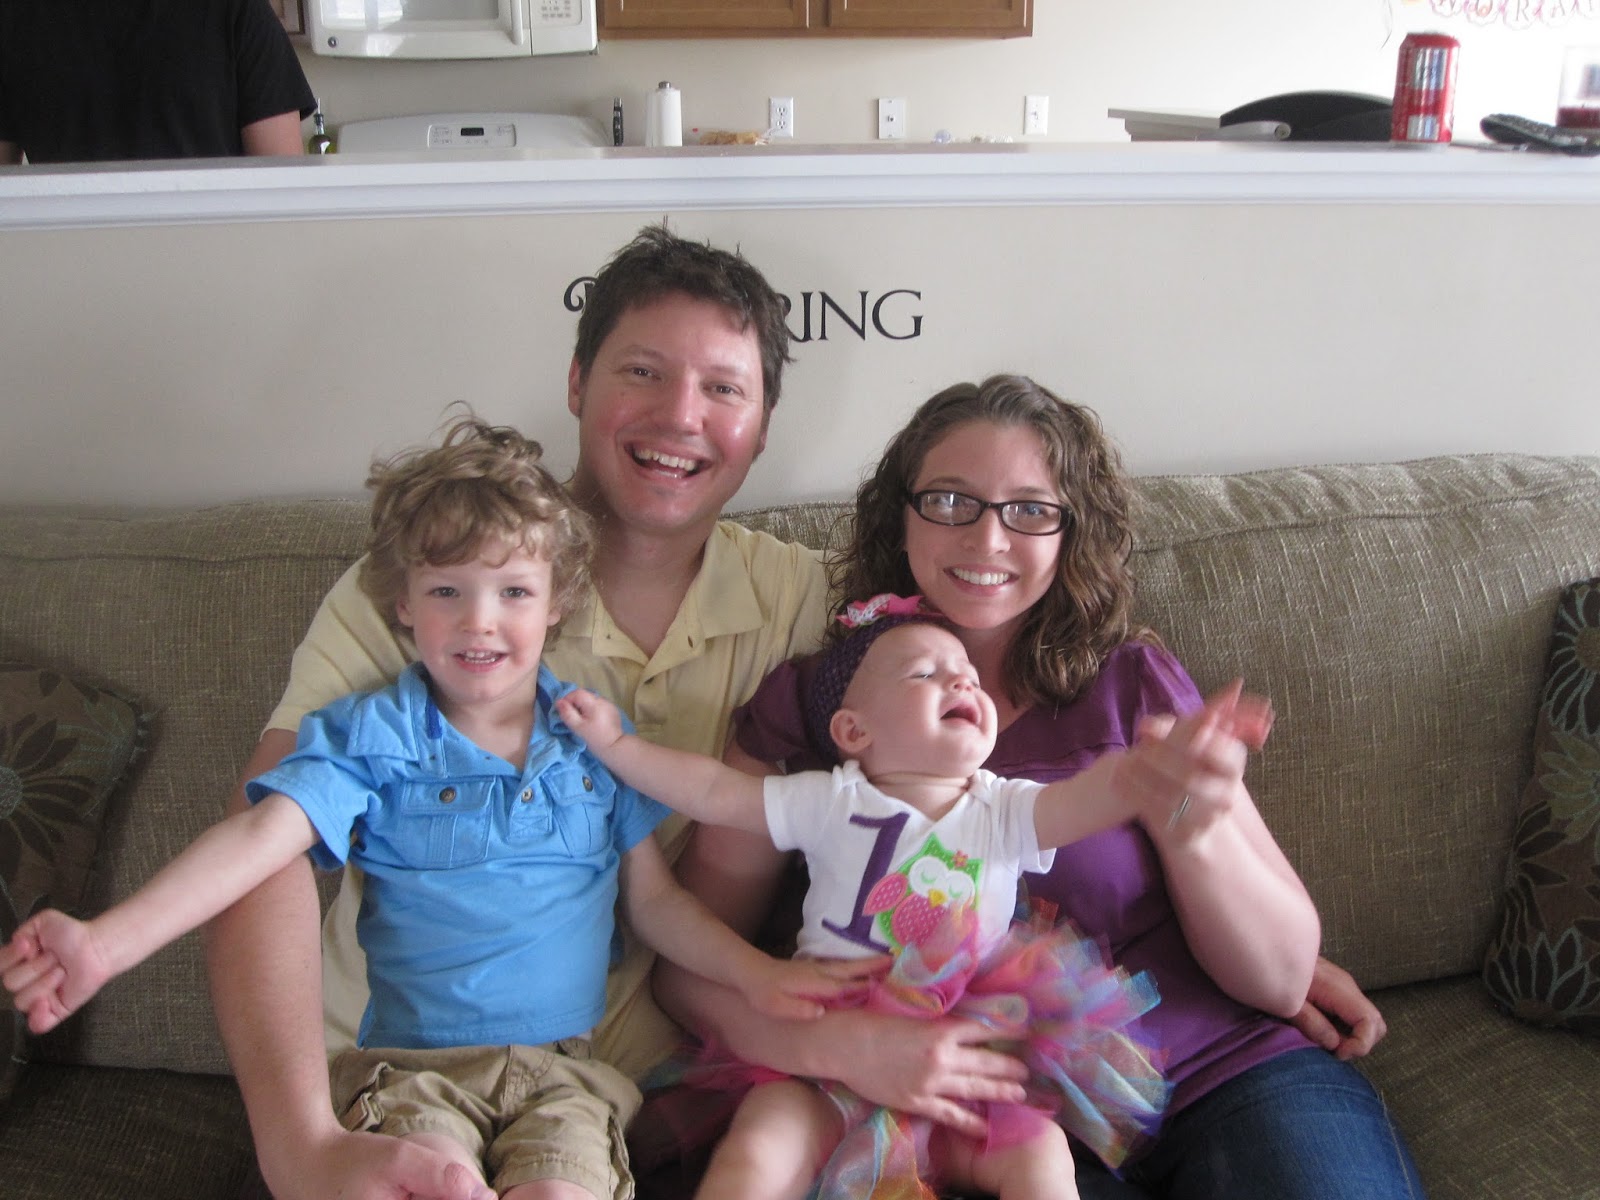

The party was VERY successful. Norah was such a little princess. I hope you enjoy reading about my daughter's birthday party. I had a great time preparing for it and I just needed to share. I created a board on Pinterest called Norah's 1st birthday ideas. Come check it out!
~Stacey


No comments